Today’s post comes from Jill Sorensen, Quetico Provincial Park’s biggest sweet tooth.
Celebrating a birthday or anniversary while on your backcountry camping trip?
Here are some of my favourite trail treats to make your day extra special.
Even if there’s no occasion, food is such an important part of any trip and a total morale booster after long days. Why not add some sweetness to your next adventure?
Blueberry cheesecake
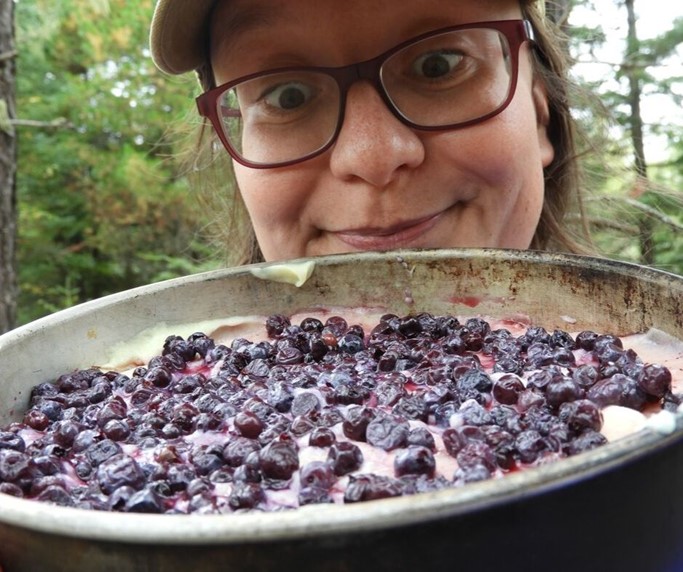
Read the instructions on the back of a no-bake cheesecake mix. In the backcountry, I swap out butter with oil, and milk with powdered milk.
Ingredients:
- boxed no-bake cheesecake mix with crust
- oil or equivalent
- sugar
- powdered milk
- optional toppings (cookie crumbs, prepackaged berries, etc.)
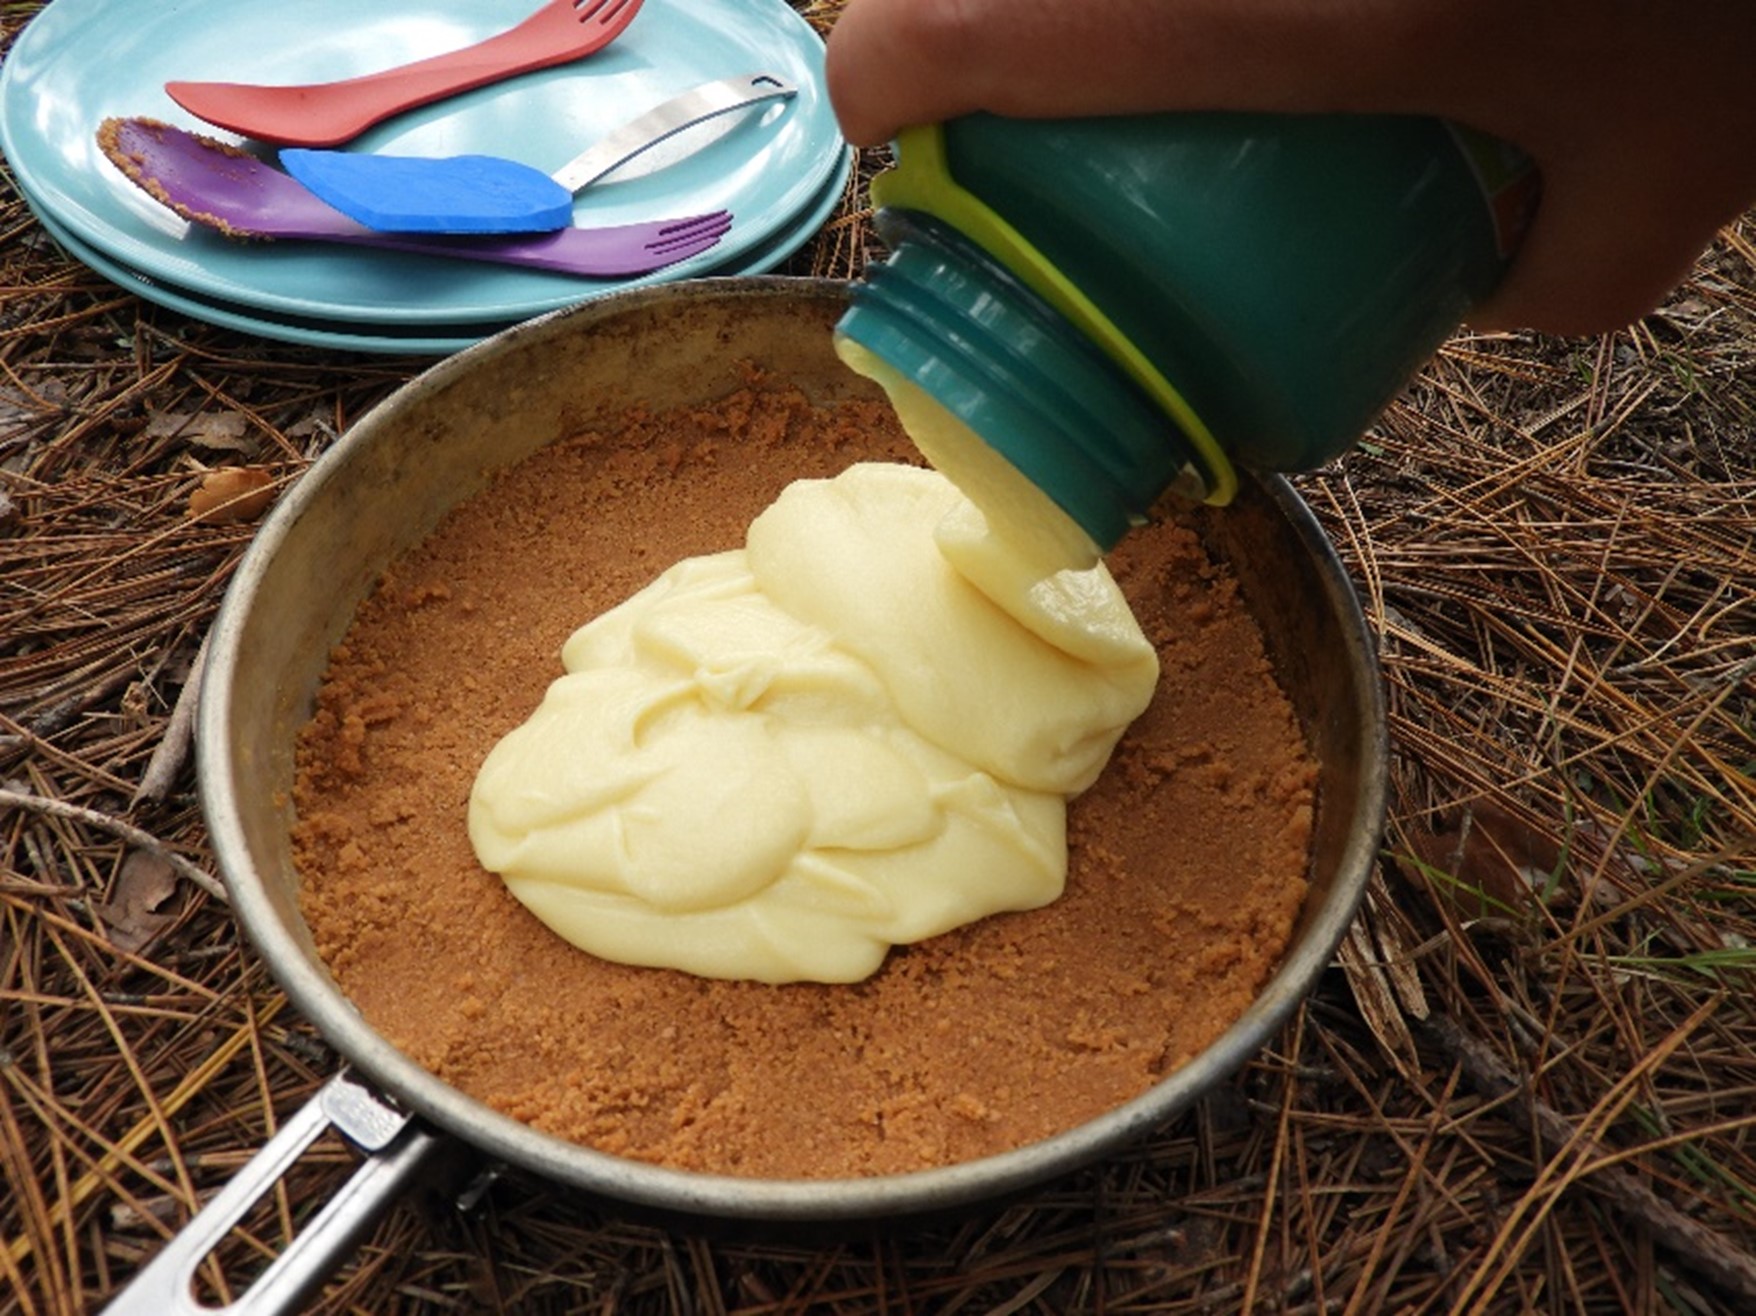
On your site:
- Mix oil and sugar with your crust as directed on the box. Press the crust into a deep plate or pan.
- Mix your milk powder with cold water, then add in your cheesecake mix. I like to do this all in a water bottle and shake it for about three minutes. You could do this in a bowl or sealable bag.
- Pour out the cheesecake mix onto the crust and smooth. Let the cake firm up. On a hot July day it will never get as firm as if you put it in a fridge, but it will get close.
- Add toppings before you serve.
Optional: for added deliciousness I’ll heat my berries for a minute over a backcountry stove with a little sugar. This makes a lovely blueberry sauce!
Fast fudge
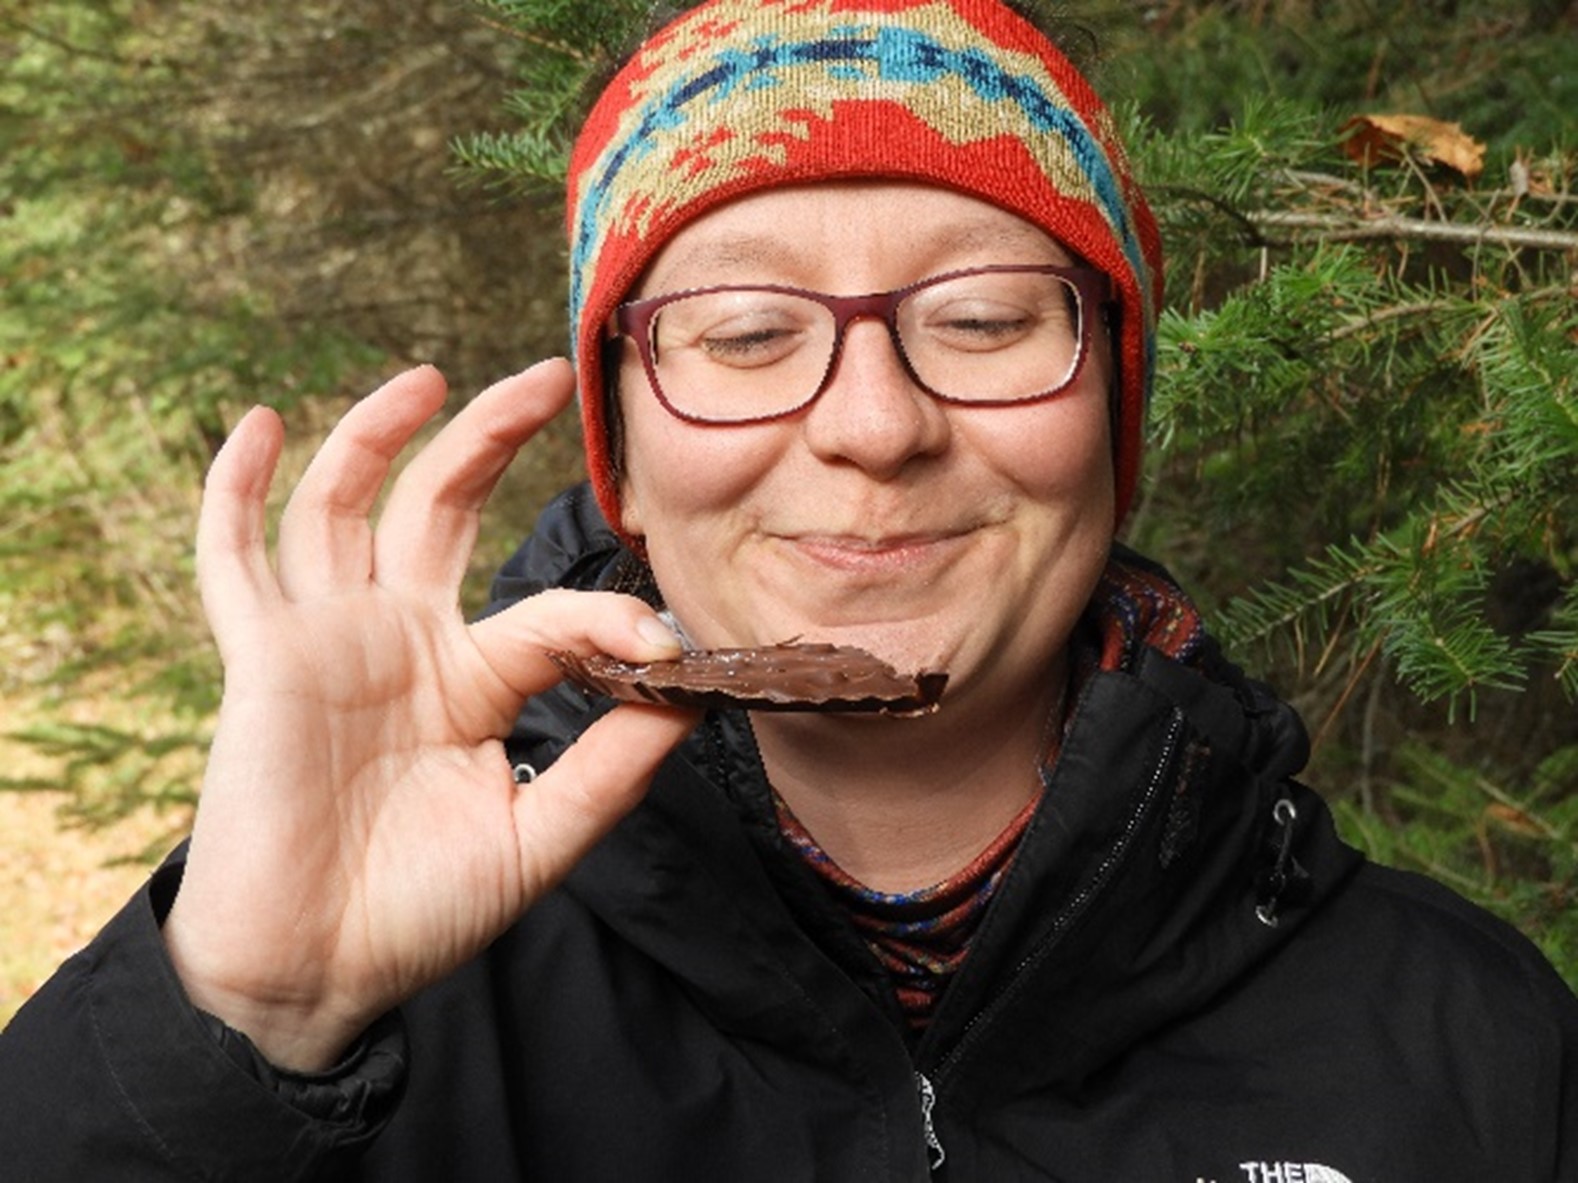
This is great to make and let stand while you set up camp! A little goes a long way.
Ingredients:
- 1 tbsp powdered sugar
- 1/2 cup semi-sweet chocolate chips
- 1 tbsp peanut butter chips
- 1+ tbsp walnuts
- aluminum plate
At home:
- Pre-measure ingredients into a resealable bag.
On your site:

- To make a double boiler (and avoid burning your fudge) bring roughly an inch of water to a boil in a deep pan or pot.
- Pour ingredients onto an aluminum plate and place over boiling pan. The chocolate and peanut butter chips will begin to melt.
- Stir until everything is melted and the powdered sugar is fully incorporated.
- Set aluminum plate to the side and let your fudge cool. Once it is hard you can cut it with a knife, and it should “pop” out of the plate.
Leftover apple crisp
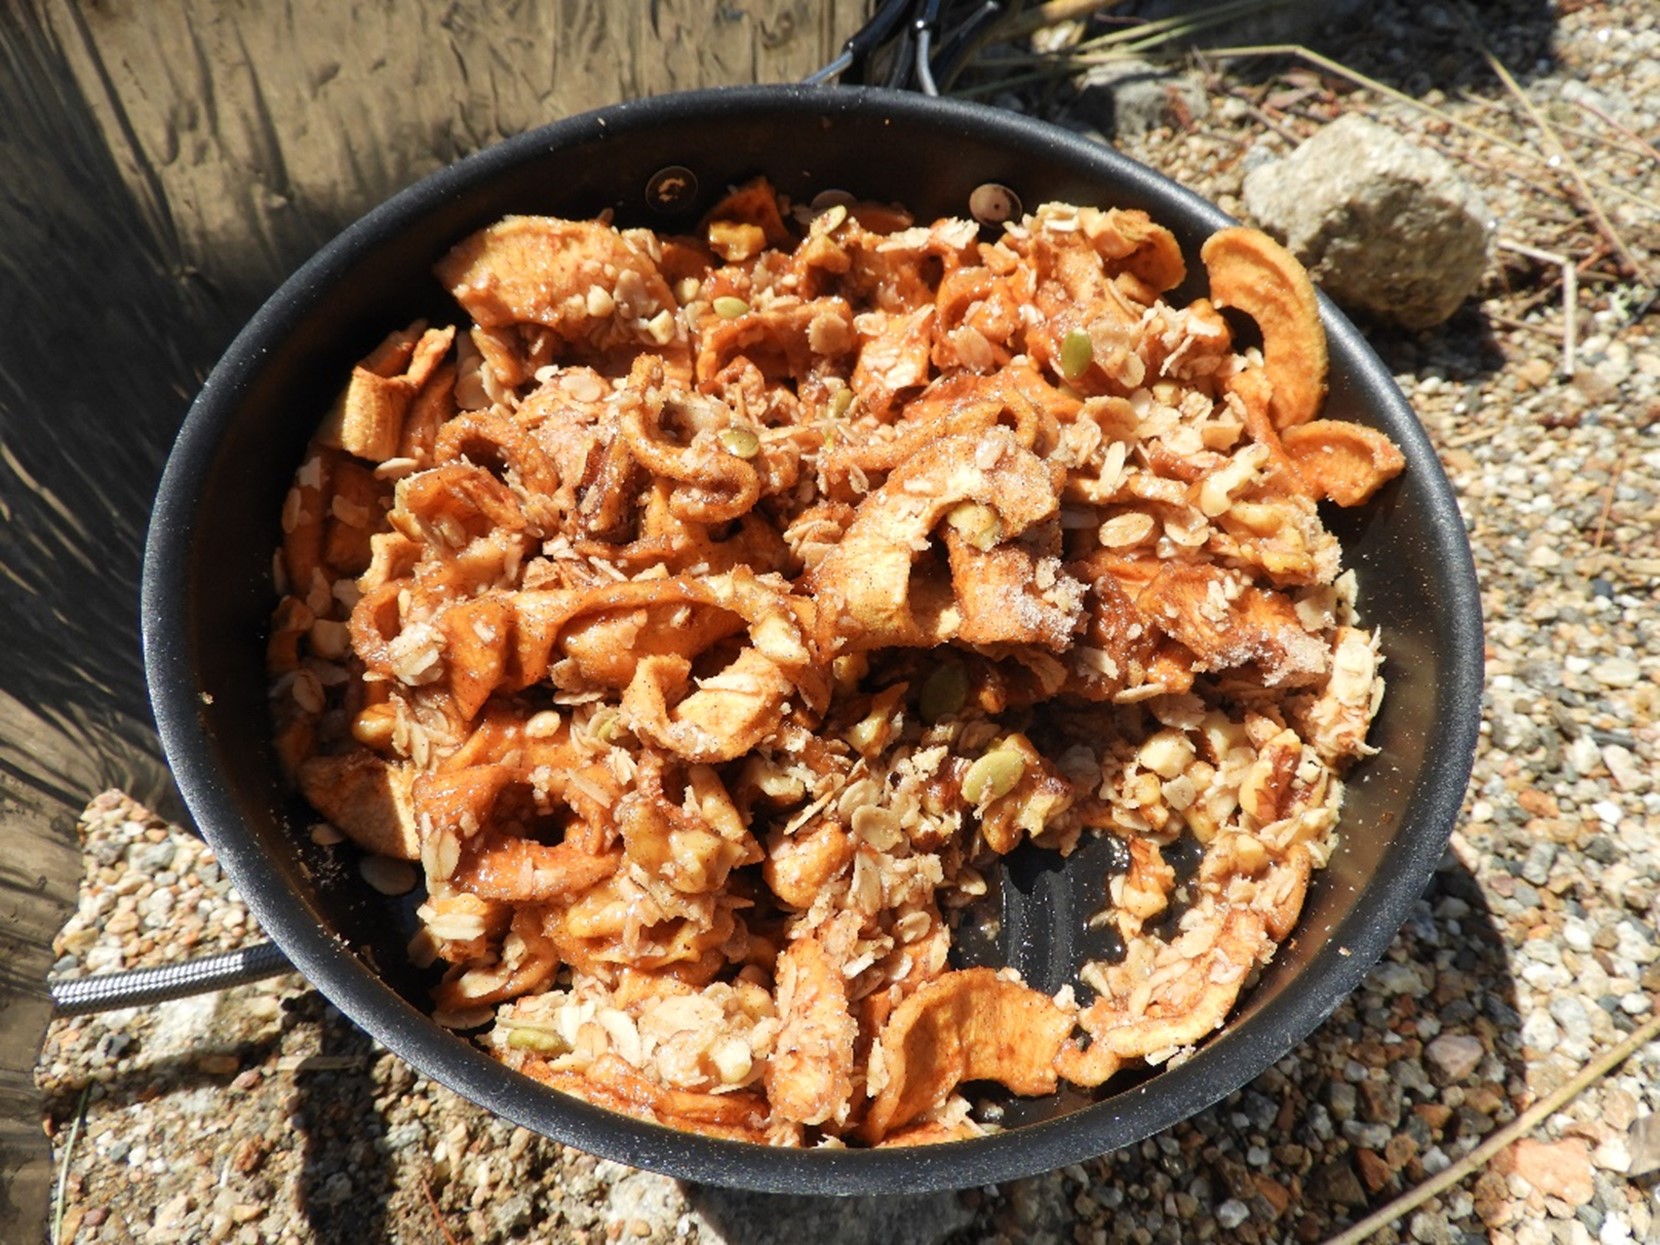
When I’m backcountry camping, I normally have a bit of leftover granola or oats from breakfast and leftover nuts from trail mix. Apple crumble is a great way to use them up your last night!
Ingredients:

- 2 cups dehydrated apples
- 3 tbsp brown sugar
- pinch of cinnamon
- 1 cup granola (or oats and butter)
- optional toppings (almonds, walnuts, other dried fruit, etc.)
On your site:
- Bring 2/3 cup of water to a light boil and add apples.
- Turn stove to low. Add brown sugar and cinnamon and stir while sugar dissolves and apples soften. It should thicken.
- Add granola and other toppings.
Backpacker’s coconut rice pudding
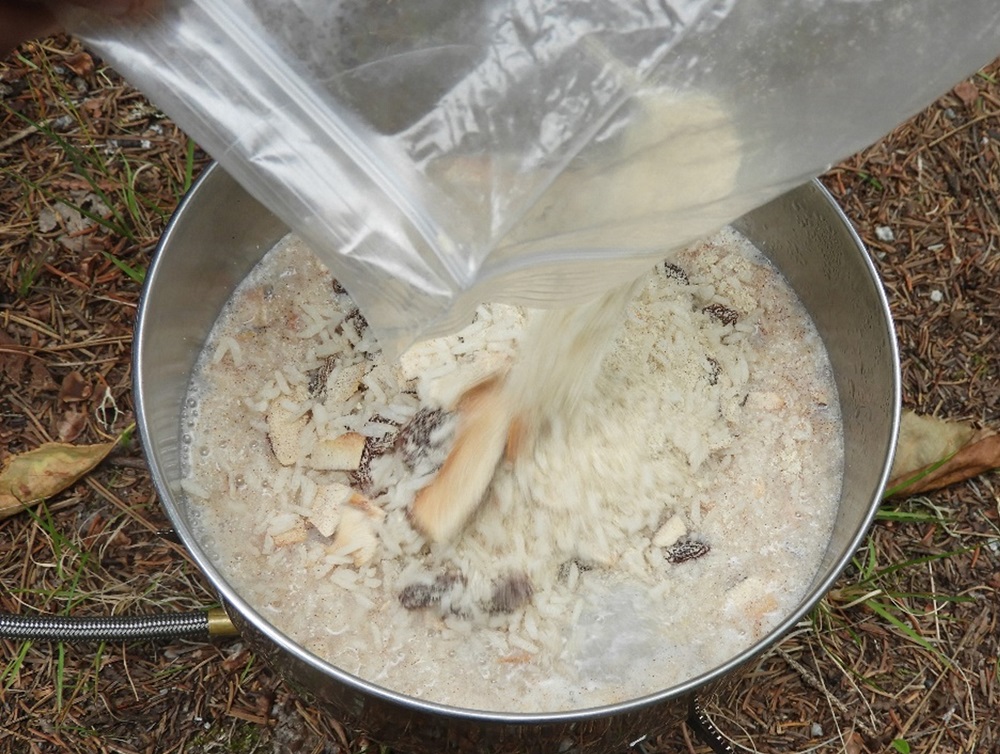
This super lightweight dessert is perfect for longer trips as it doesn’t spoil. It also takes very little time to cook.
Experiment and try a different kind of pudding!
Serves four
Ingredients:
- 2/3 cup dehydrated coconut milk (can substitute milk powder)
- 1 1/2 cup instant white rice
- 1/2 tsp ground cinnamon
- 1/2 tsp brown sugar
- one 3.4-ounce package vanilla instant pudding mix
- optional toppings (dried coconut, craisins, wild berries, chocolate, etc.)
At home:
- Pre-measure ingredients into a resealable bag.
On your site:
- Bring 3 cups of water to a boil.
- Add rice, cinnamon, sugar, and pudding mix to water. Stir for a minute.
- Remove from stove, cover, and let stand for 10 minutes before serving.
- Add toppings. (I also know chocoholics who have added a big dollop of Nutella!)
Kids’ favourite: dirt pudding
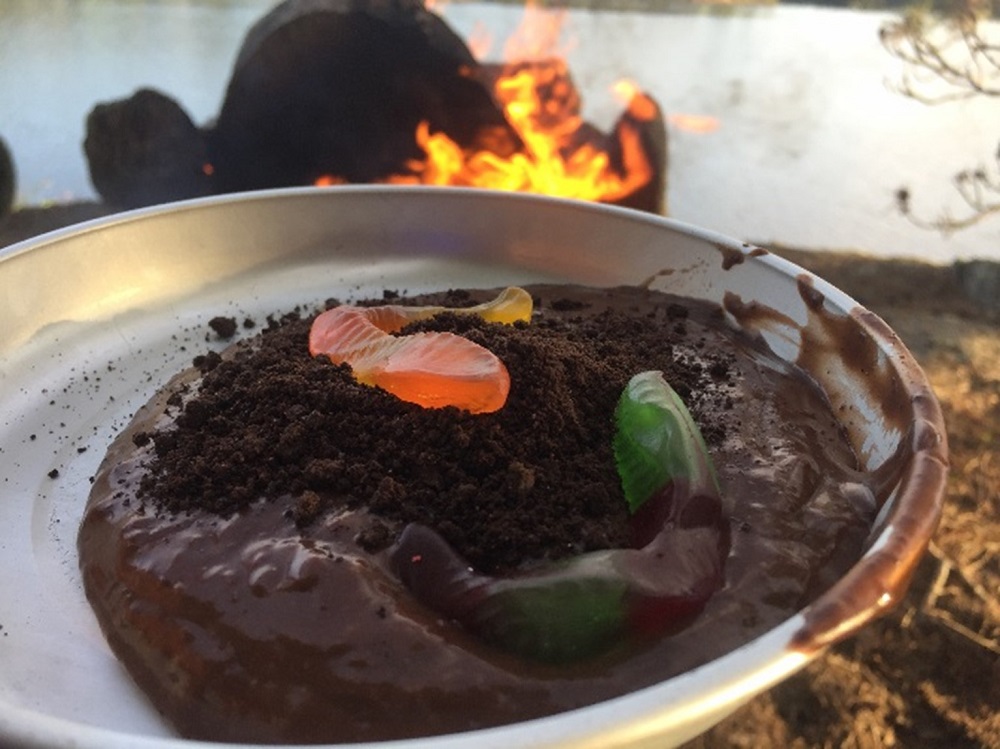
This is my go-to when on trips with kids since it’s super fast and doesn’t require any heat. It’s also easy to accommodate lactose intolerance by switching out milk powder for coconut milk powder.
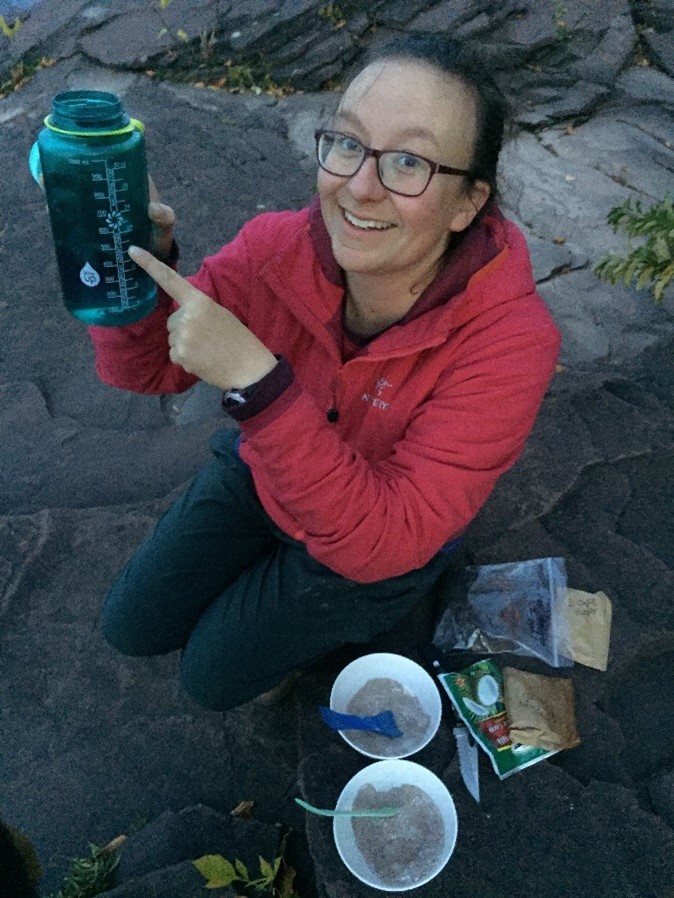
Ingredients:
- chocolate pudding mix
- milk powder (or coconut milk powder)
- cookies and/or cookie crumbs
- gummy worms
On your site:
- Read the pudding package to know how much milk powder and water to add. The colder the water, the better.
- Mix thoroughly then let stand for 5 minutes.
- Add cookie crumbs and gummy worms on top.
Before getting to baking recipes…
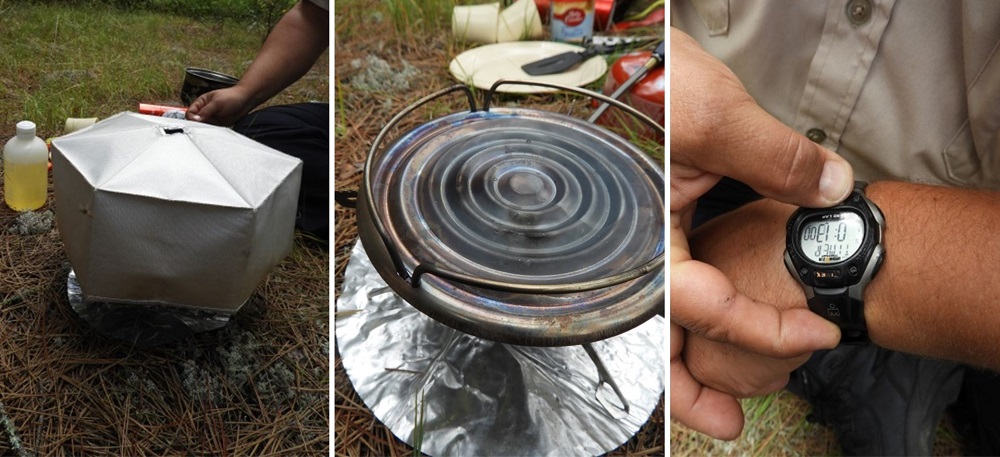
I recommend picking up these tools:
- an outback oven, fry bake, or Dutch oven is essential for baking. For cakes, cinnamon rolls, and brownies, there is nothing better. Look for ones with a temperature gauge
- a scorch buster or other device to disperse heat more evenly along the bottom of your cookware. It’ll stop baked goods from burning.
- a watch. You don’t want to be lifting the lid and losing all that heat to check if your cake is fluffy all the time. A watch will allow you to sit back and relax once there’s a nice baking temperature on your backcountry stove.
Birthday cake
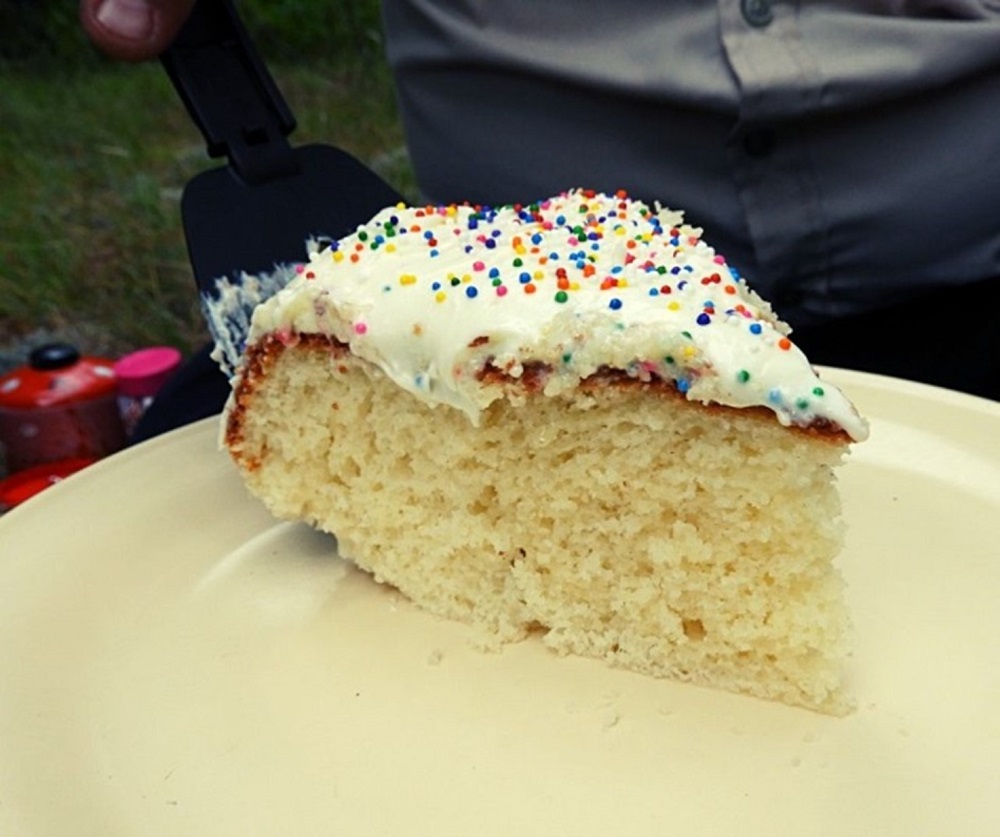
Ingredients:
- cake mix
- eggs (as directed on the box)
- oil
- water (can also add dehydrated milk if desired)
- premade icing
- sprinkles
On your site:
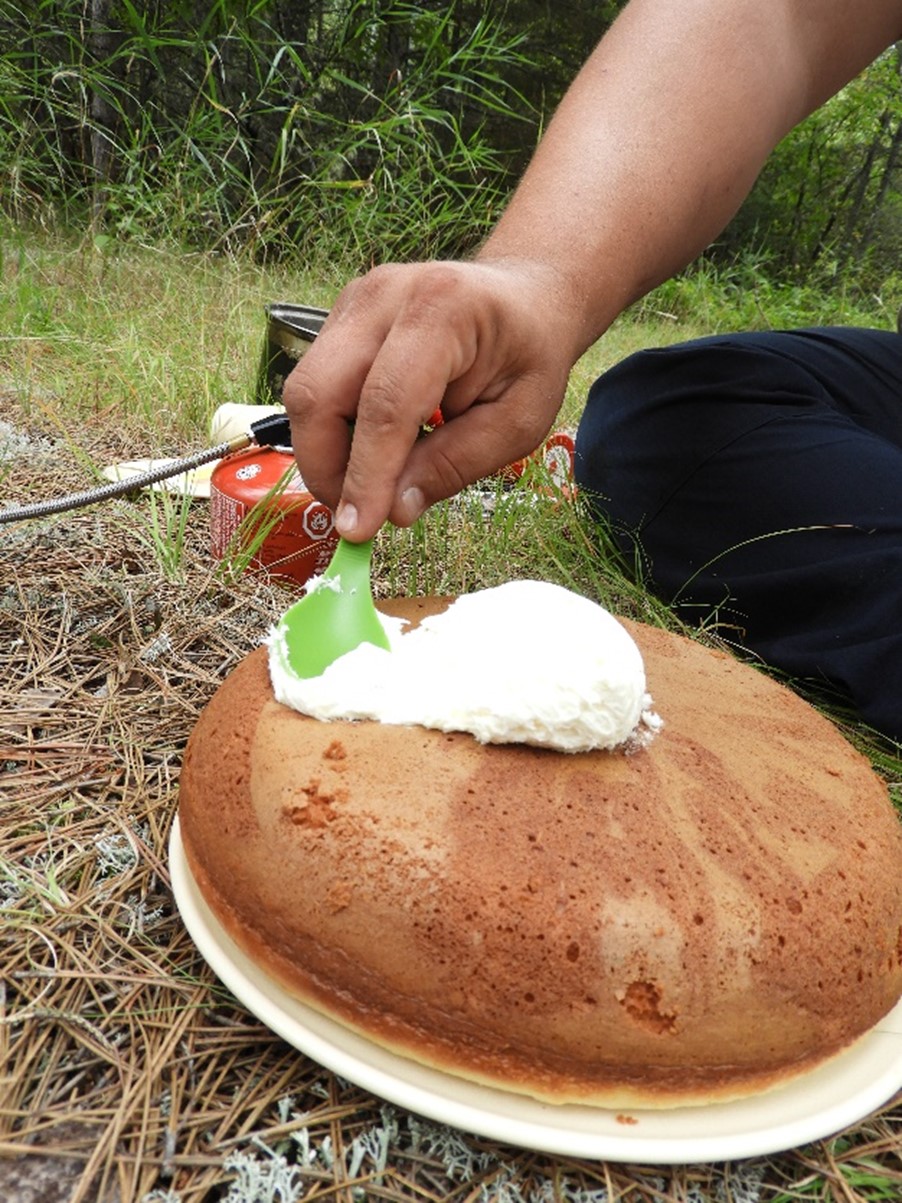
- Grease your outback oven and preheat under you’re in the “bake zone.”
- Mix your cake ingredients and pour them into the oven. I recommend doing this on the ground.
- Return the oven to the stove. Set a timer on your watch based on the cake mix directions and sit back and let your cake rise.
- Test your cake to make sure it cooked all the way through. Then remove your cake from the oven so it doesn’t overcook. I like to flip mine onto a clean plate.
- Add icing, sprinkles, and candles.
- Sing Happy Birthday!
Backcountry brownies
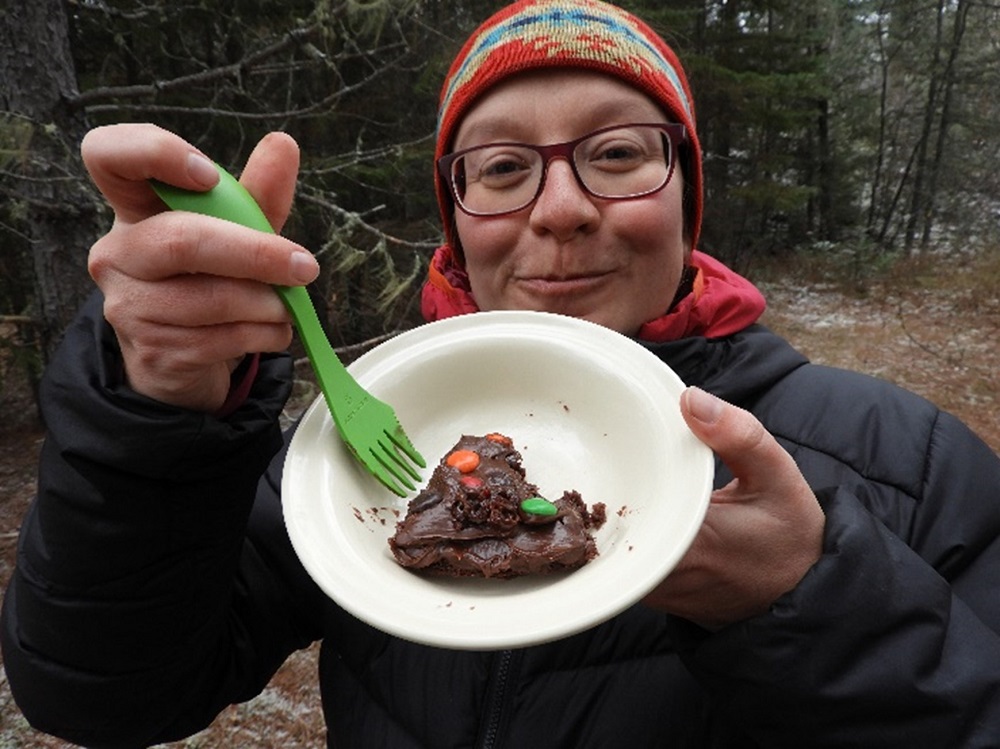
Got a chocolate lover on your trip? This will be sure to impress.
Ingredients:
- brownie mix
- eggs (as directed on the box)
- oil (as directed on the box)
- water (can also add dehydrated milk if desired)
- premade icing
- toppings of your choice
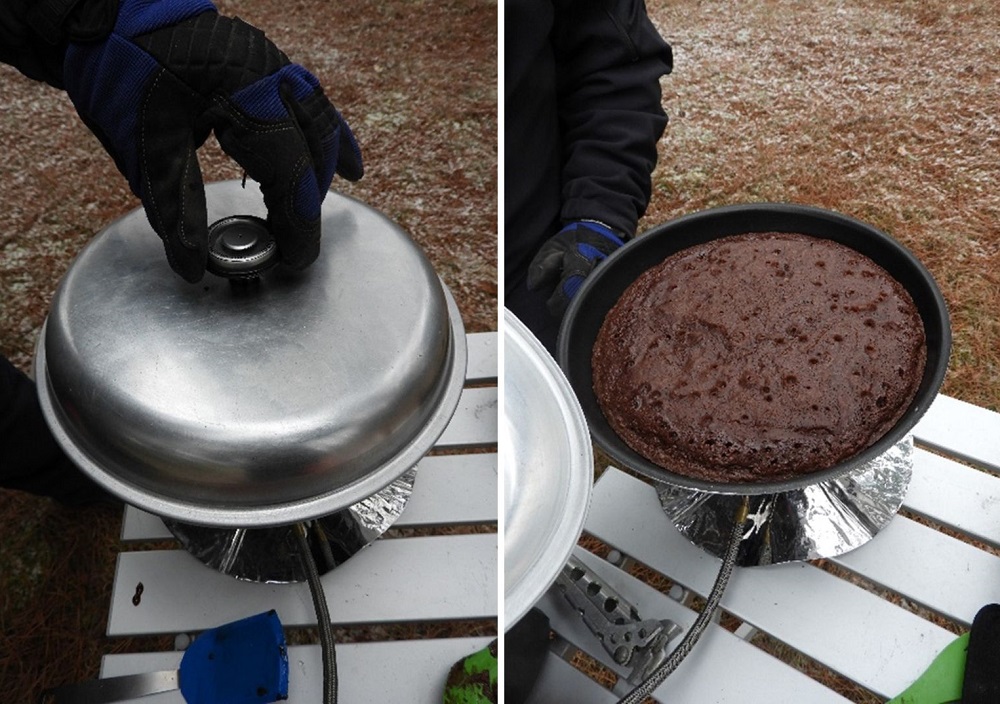
On your site:
- Grease your outback oven and preheat it until you’re in the “bake zone.”
- Mix your brownie batter ingredients together according to the box directions and pour into oven.
- Return oven to the stove. Set a timer on your watch based on the brownie mix instructions and sit back and let your brownies rise.
- Test your brownies to make sure they’re cooked all the way through.
- Add icing, toppings, and enjoy!
It’s so nice to have a warm dessert on a cool summer night!
