Today’s post comes from the Discovery Program staff at Neys Provincial Park and our Northwest Zone Office.
Parks are a popular spot for park visitors, but did you know they’re just as popular for animals like lynx, deer, and moose?
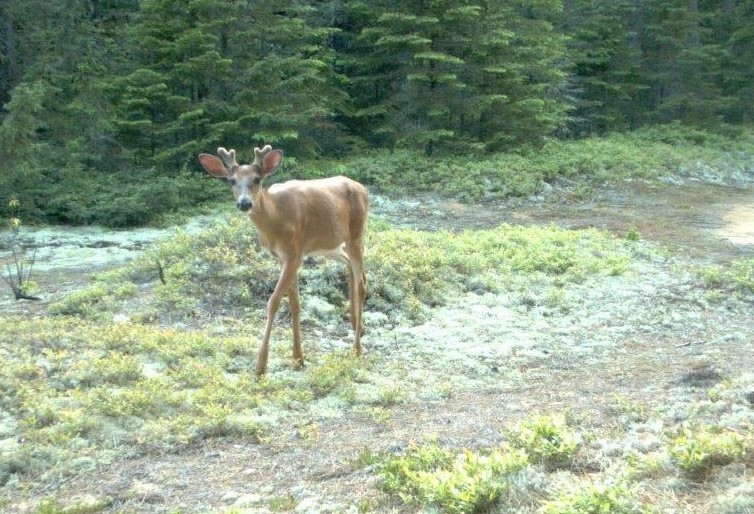
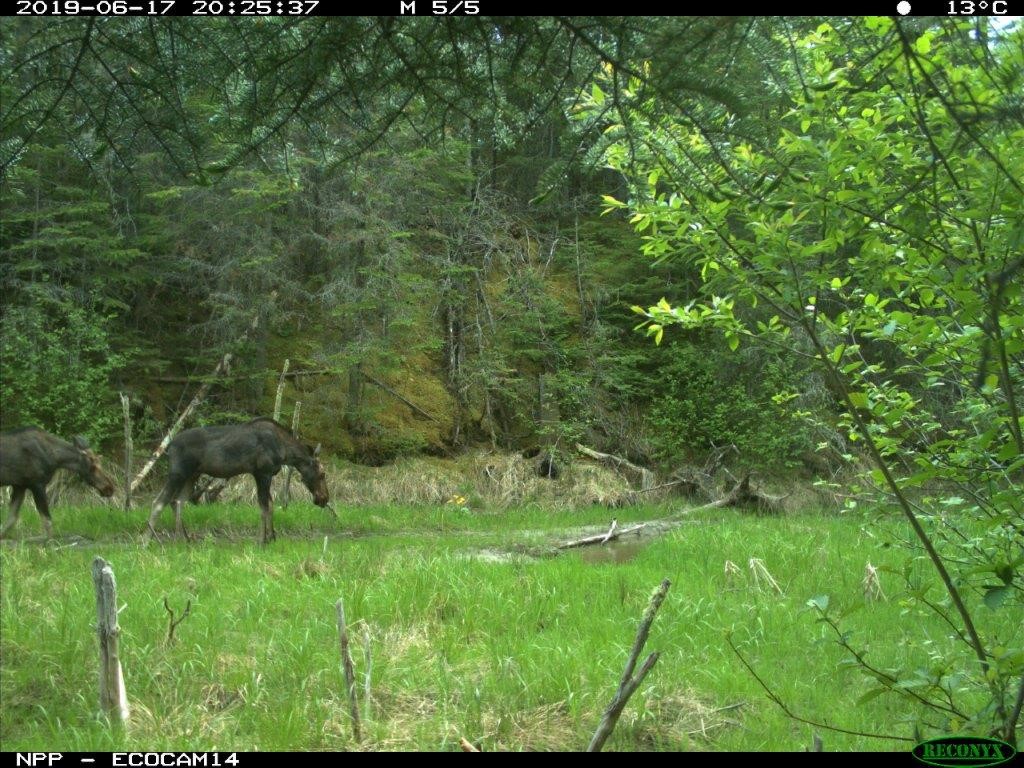
Even though you may not actually see them while you’re there, here’s the proof:

Trail cameras are used by Ontario Parks and other agencies to track the presence or absence of species, their spatial patterns, and habitat preferences.
This information helps park managers monitor and protect park wildlife.
So what are trail cams?

Trail cameras are weather-resistant cameras that are placed on trees near suspected animal corridors or easily accessible trails with a concentration of wildlife.
At other times, trail cameras may be set up in more remote park locations to monitor wildlife. Thus, they often earn the nickname “critter cams.”
These cams are either motion- or heat-sensor cameras.
The trail cams can be set up to capture wildlife by either photo or video, while also recording the date and time each image was taken. This is helpful information when interpreting the photos.
The images later help Discovery staff and ecologists uncover animal patterns, and record the wildlife species that inhabit each park.
Preparation is key
In order to use trail cams, they must first be set up!
This requires park staff — often the park’s excited and energetic Discovery staff — to help get the job done.

The following sample checklist is used to help collect the required gear for this task:
- establish a plan for where the cameras are to be set up based on previously noted information, including known wildlife trails and tracks, potentially good wildlife corridors, and past camera locations
- ensure each trail camera has fresh batteries for lengthy time periods
- clear the SD memory cards so they can capture as many new images as possible
- bring along a GPS unit to track the route to the site and record the coordinates of where the cameras are located
- pack safety gear for the outing (weather appropriate clothing, first aid kit, radio, etc.)
- bring a digital camera or laptop to review and ensure proper camera angles during set up
- gather up all the camera gear, including the strapping system, to secure and lock each device to each tree
- load all the gear into the backpack and get ready to head out for the day!
I’m in the field…now what?
With any trail camera, it is important to find a prime location for placement.
It’s best to find a spot along a clearing or known wildlife trail. Placing the trail camera where there’s wildlife habitat requirements, such as food, water, and shelter, should also be taken into consideration.

It’s also important during set up to be sure there is no vegetation directly in front of the camera’s view to avoid falsely triggered photos.
Once a spot has been found that meets these requirements, it is essential to find a sturdy tree to place it on. A tree with a thin trunk will likely blow too much in the wind, causing false triggers, or the wind may even cause the camera to fall off the tree!
Strike a pose
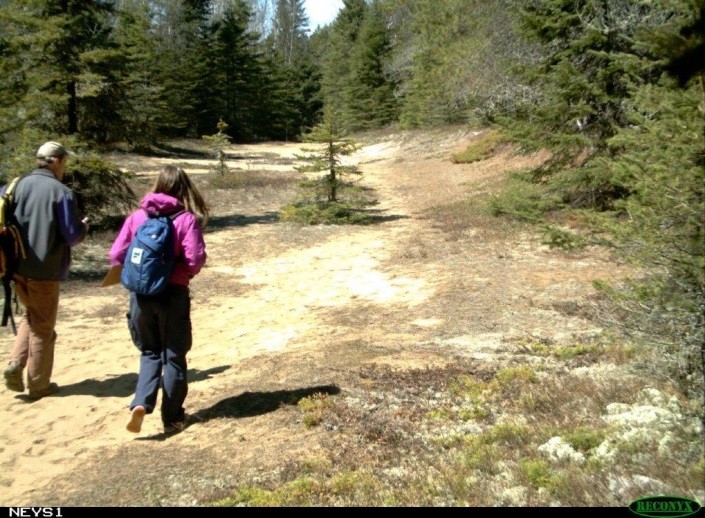
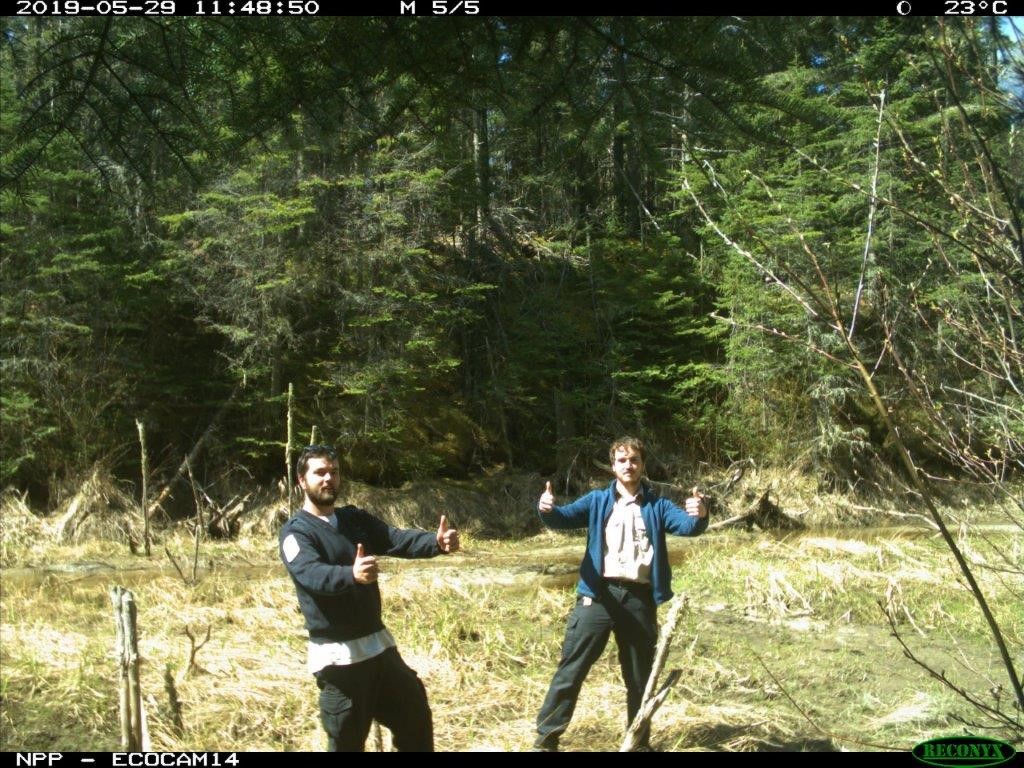
Once the camera has been mounted to a solid tree, it’s turned on and tested by walking by the camera and triggering the sensor.
This is also where we can get some fun and creative staff photos too!

Cameras are typically set to capture a burst of five photos. The camera will take a burst of photos to capture the movement of the animal and show a bit of its behaviour.
After testing the camera, staff temporarily remove the SD card to review the sample images on a digital camera or laptop to ensure the camera’s positioning is ideal. Some trail cams will let you review image through the camera itself!
Once the perfect camera angles are found, the memory cards are reloaded and the camera is turned on to capture images.
The test images also record the date the camera was set up for monitoring purposes. Photos are again taken when staff pick up the trail camera later, so the date range for the time the camera was deployed can also be noted.
Now we wait…
The trail cams at Neys get checked about every 3-4 weeks. This gives plenty of time to capture the park’s wildlife.
Checking the cameras
After the waiting period, Discovery staff will return to retrieve the cameras and upload the SD card images to their computers. Revealing what has been captured on camera is the most exciting part of trail camera monitoring!
At Neys, the following species have been captured on camera:
- moose
- White-tailed Deer
- Black Bear
- coyote
- wolf
- Red Fox
- River Otter
- Snowshoe Hare
- Canada Lynx

Photos and data are entered into the Ontario Parks’ Inventory and Monitoring Database for our staff to use for management purposes.
Trail camera photos provide important insights which help improve our understanding of wildlife in Ontario Parks.
Do not disturb!
If you happen to discover a trail camera as you explore provincial parks, please do not disturb them as they are actively monitoring wildlife.
Remember, although wildlife may not always be seen while visiting a park, we can get a glimpse into the lives of wildlife thanks to technology and trail cameras.
Submit your wildlife sightings!
Take a photo and submit your sightings to iNaturalist to contribute to citizen science!
Unsure what you’ve seen? Tweet a photo and tag @OntarioParks with the hashtag #AskanOPNaturalist and our staff will try to identify it for you!
